
How the U-Proof Waterproofing System Works
A simple, effective waterproofing process designed to prepare, reinforce, seal and protect roofs, gutters, walls, concrete, metal and exposed surfaces.
Waterproofing Starts with the Right System
Long-lasting waterproofing depends on more than simply coating over a leak. For best results, the surface must be cleaned, prepared, reinforced where needed and sealed with the correct waterproofing product. U-Proof products are designed to work together as a practical waterproofing system, helping you protect surfaces against water ingress, UV exposure, cracking and weather-related damage.
The U-Proof Waterproofing Process
Follow these key steps to achieve a strong, flexible and long-lasting waterproofing result.
Step 1
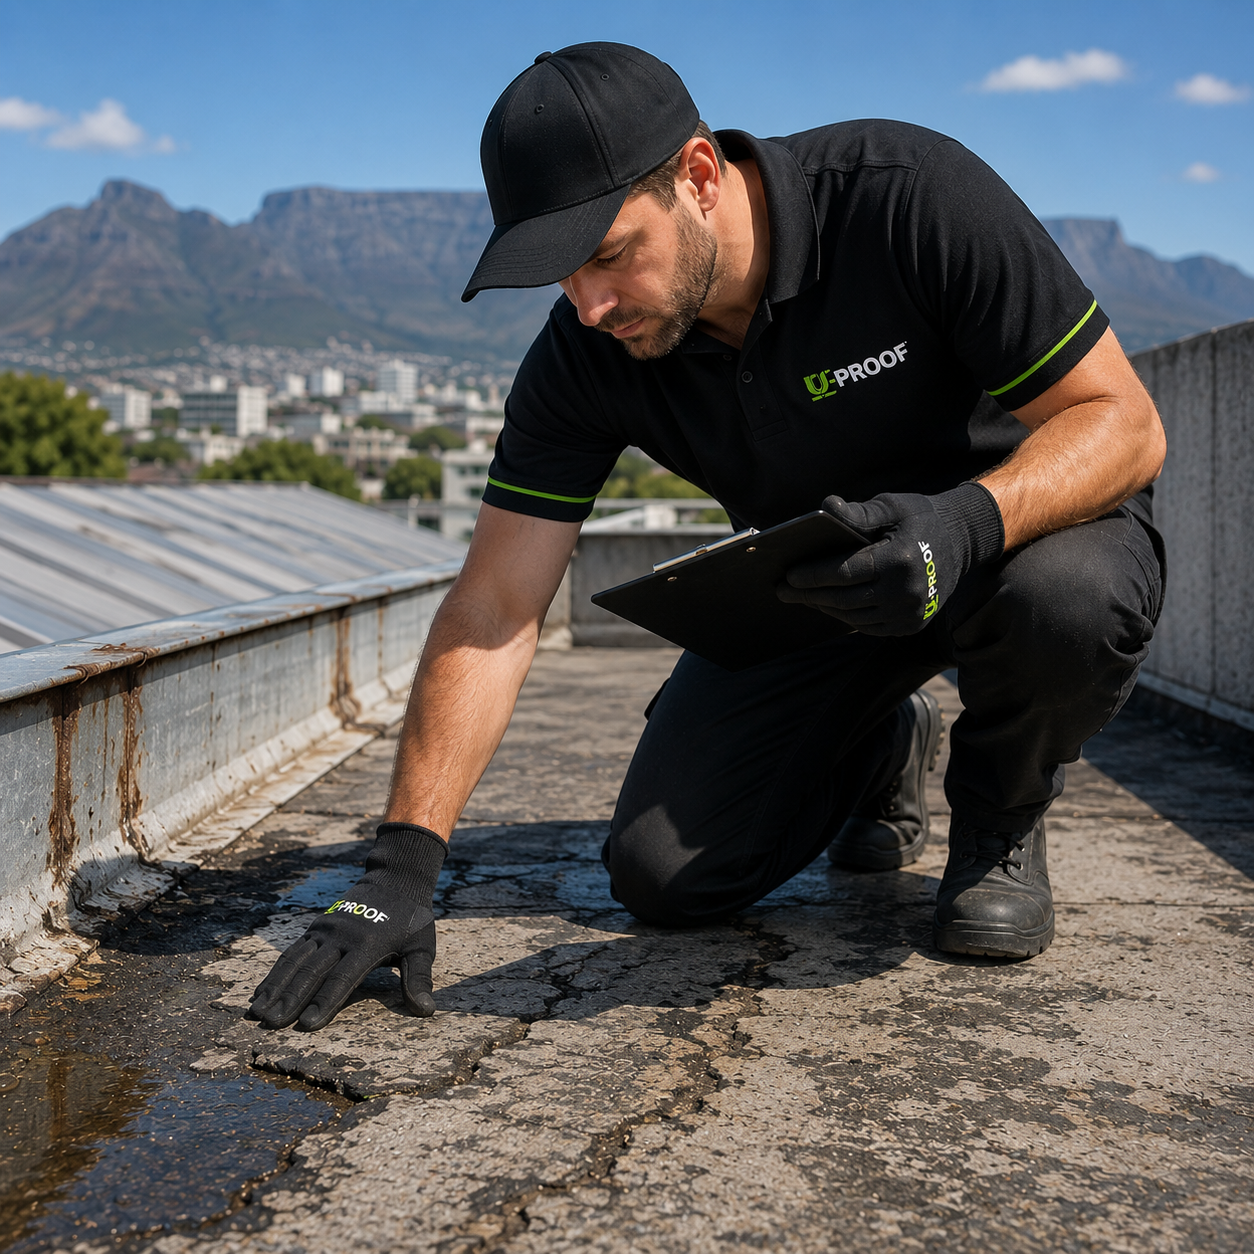
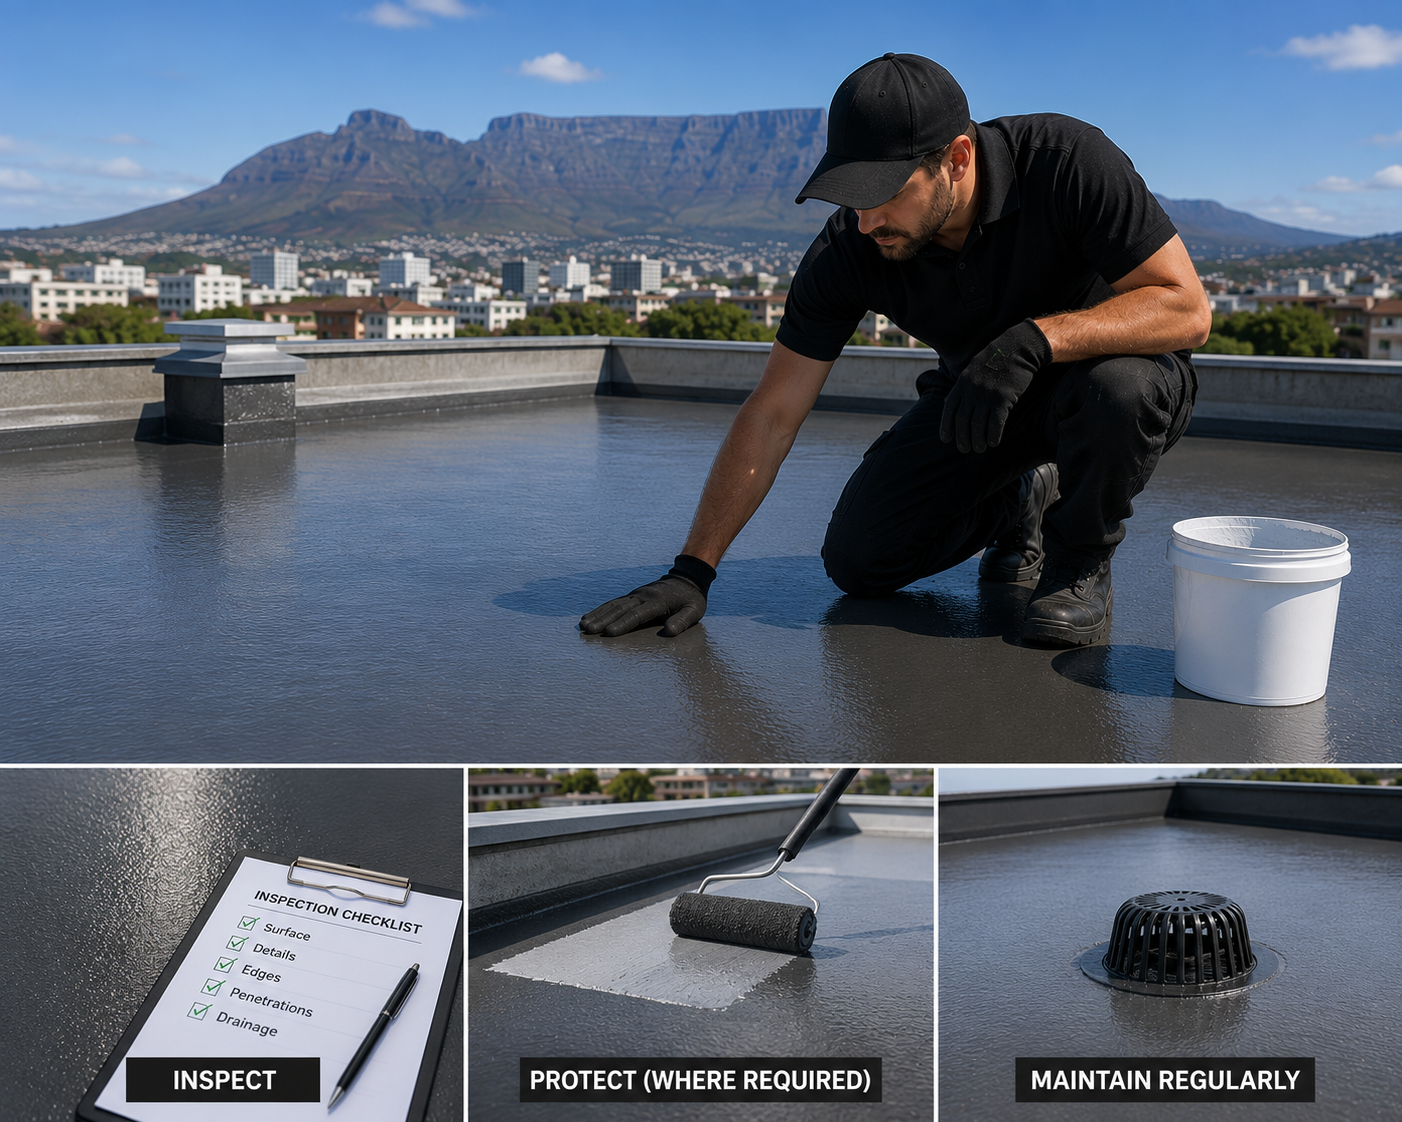
Inspect the Surface
Check the area carefully for cracks, leaks, rust, loose material, failed coatings, damaged joints and signs of water ingress. Identifying problem areas before application helps ensure the correct products are used from the start.
Pro Tip
Pay close attention to joints, corners, flashings, roof edges and areas where water naturally collects.
Step 2
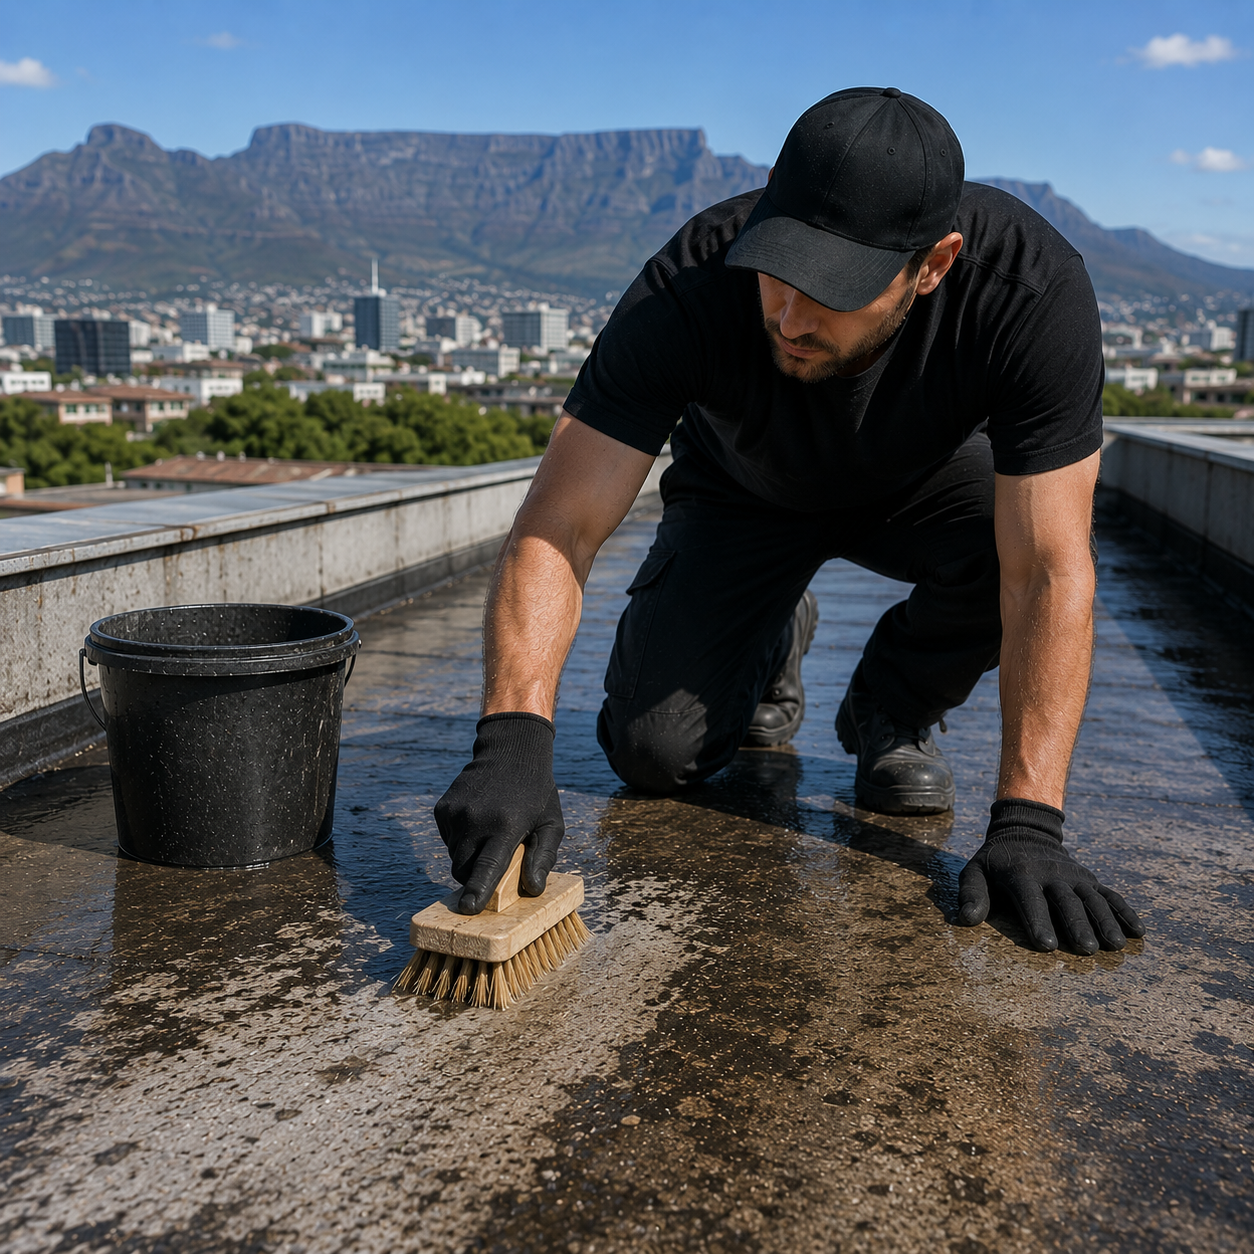
Clean & Prepare
Remove dirt, dust, grease, loose paint, rust and unstable material. A clean, sound surface helps waterproofing products bond properly and perform as intended.
Pro Tip
Never apply waterproofing over loose, dirty or unstable surfaces. Proper preparation is essential for long-term adhesion.
Step 3
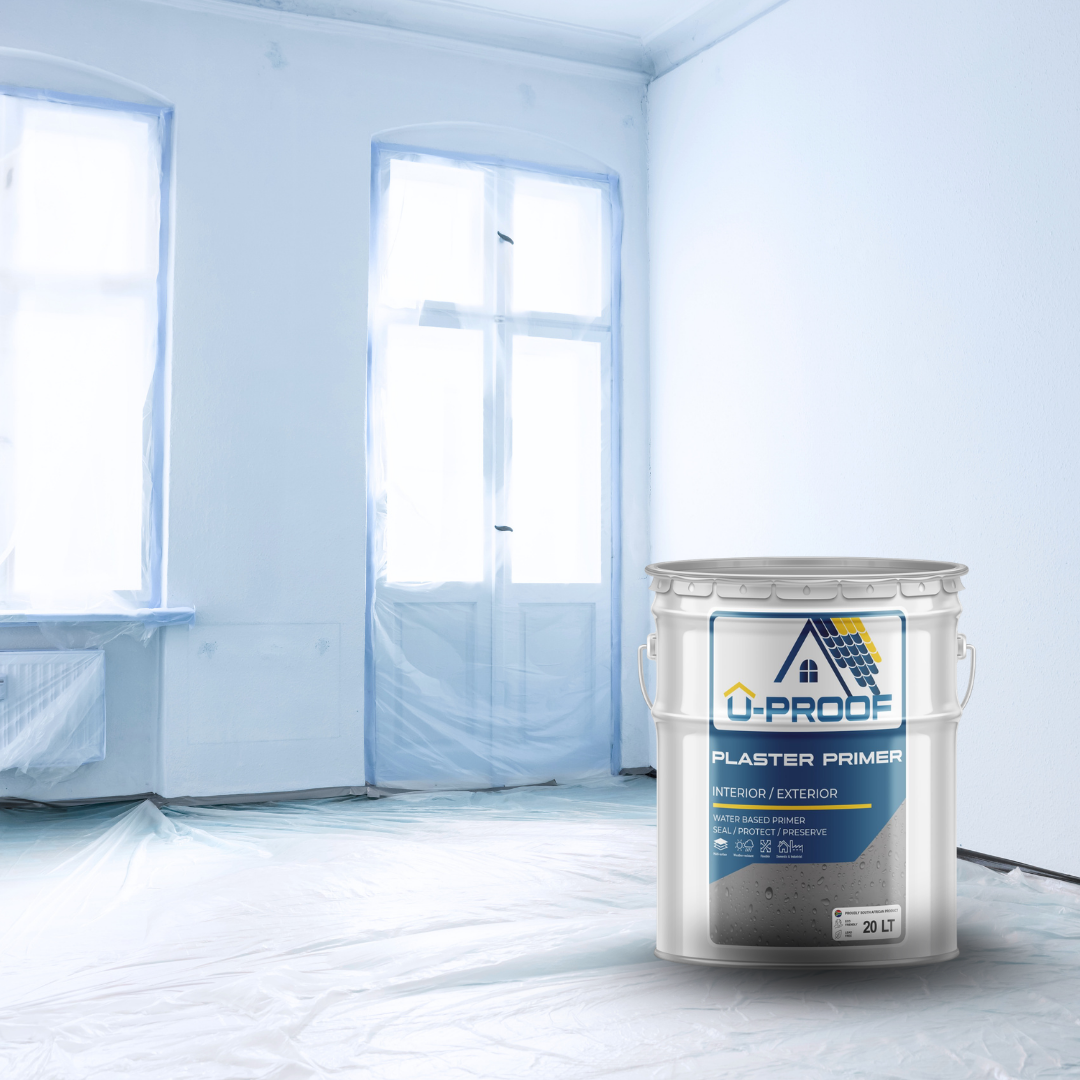
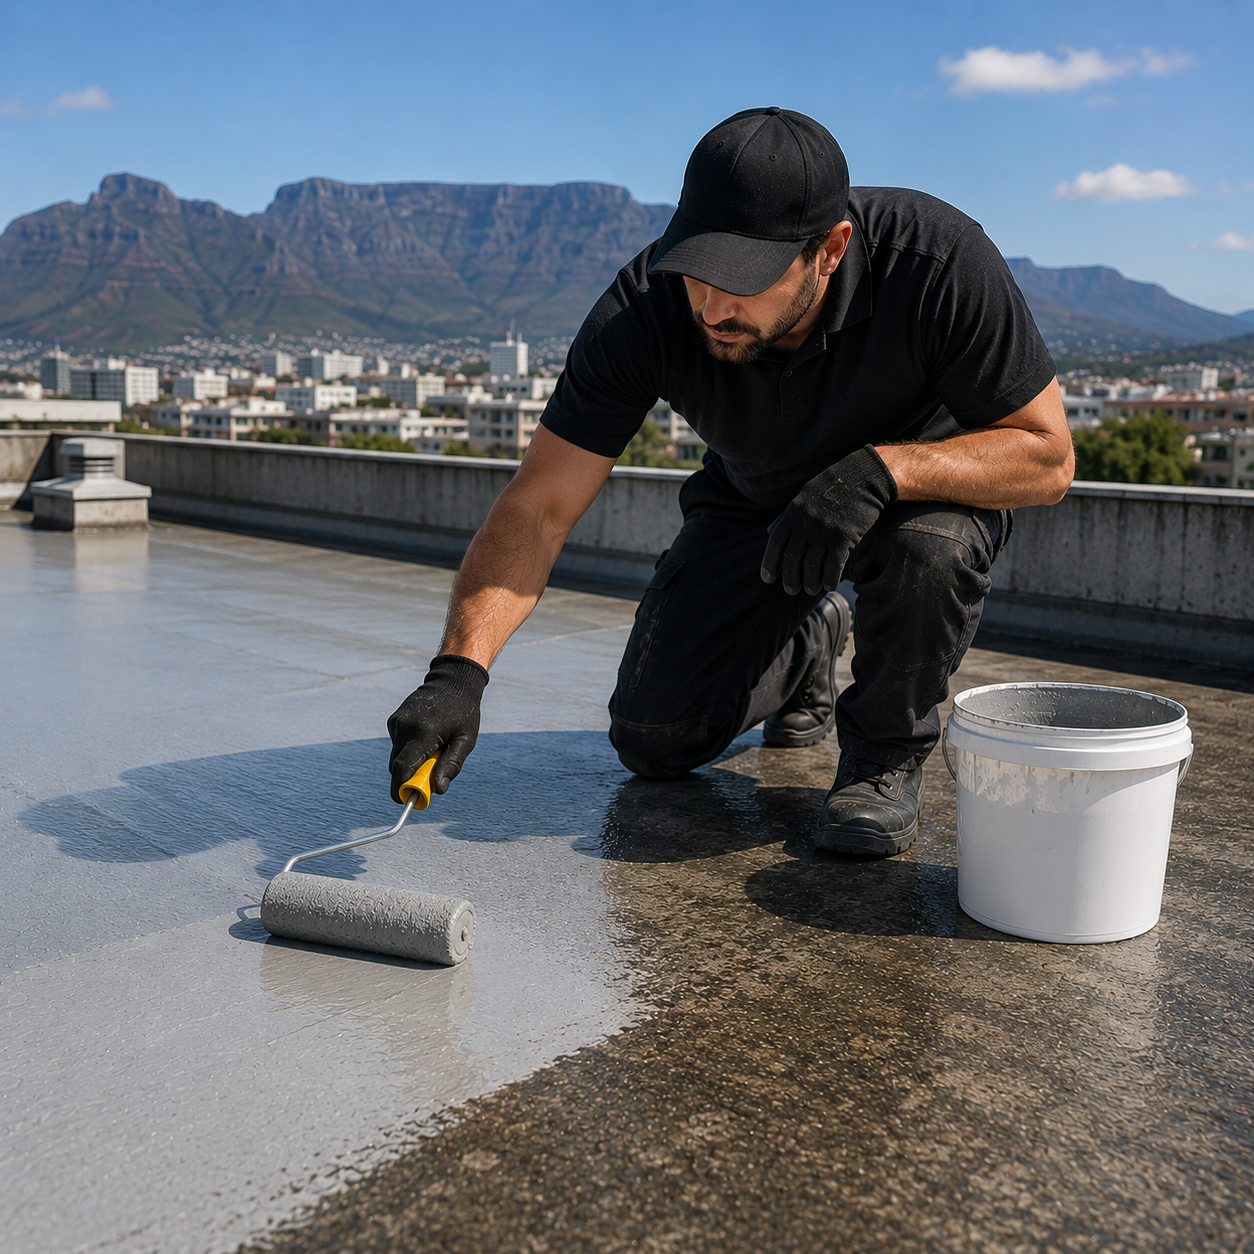
Prime Where Required
Some surfaces require a primer to improve adhesion and help prepare the substrate for waterproofing. The correct primer depends on the surface type, condition and application area.
Pro Tip
The correct primer depends on the surface type and condition. Metal, concrete and plastered surfaces may require different preparation.
Step 4
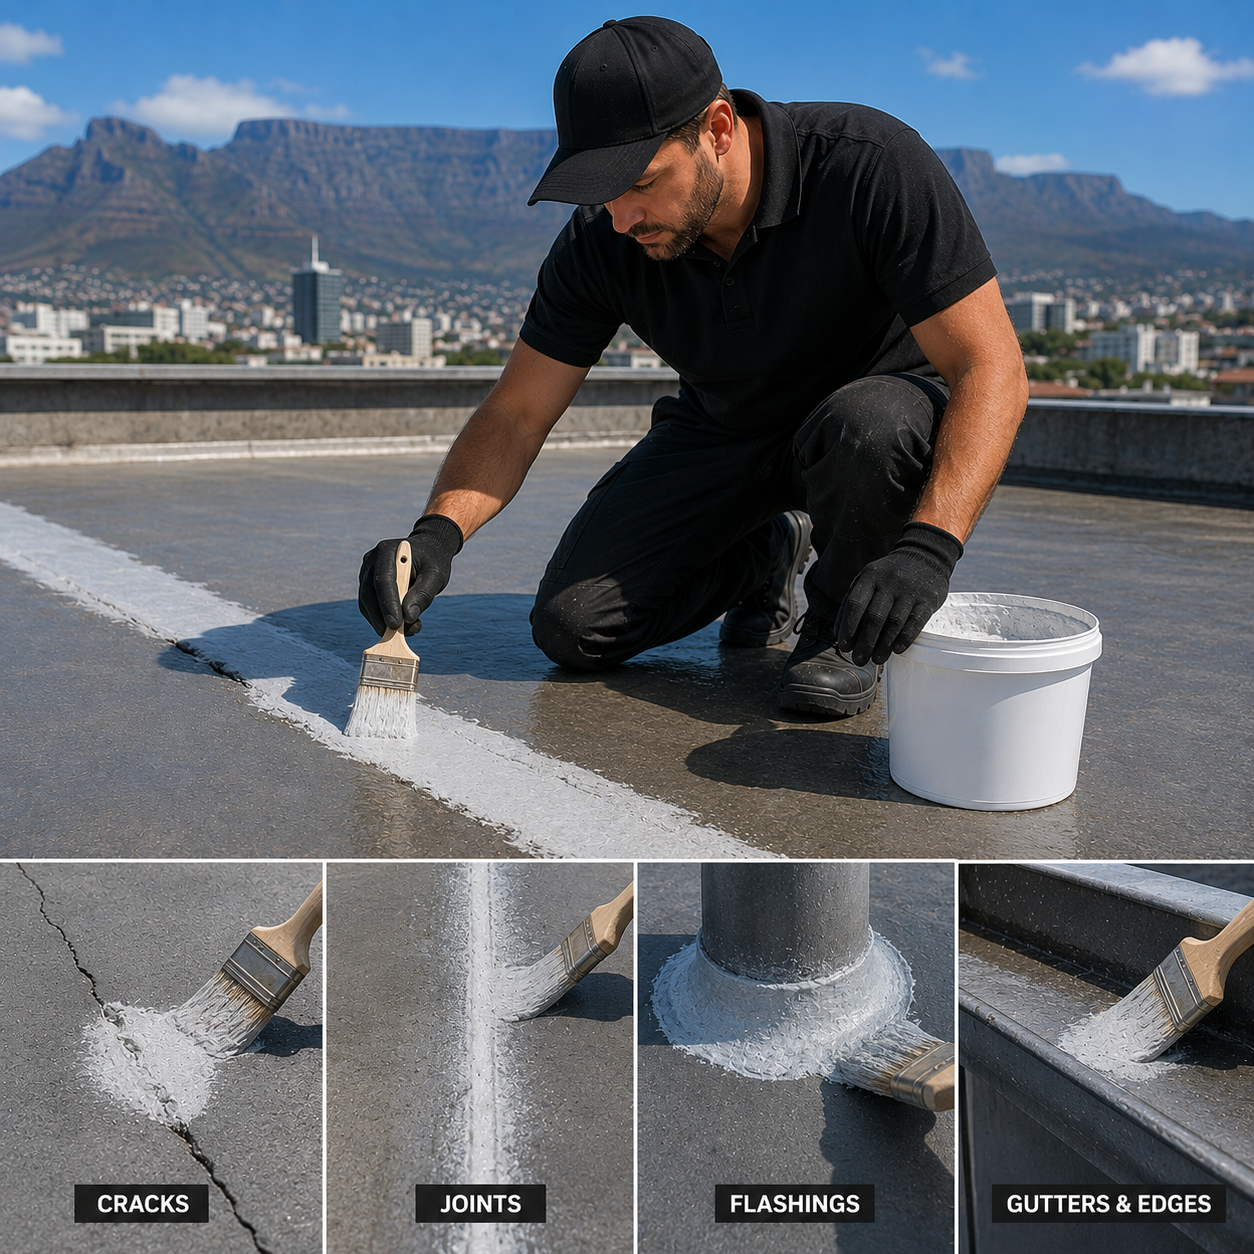
Reinforce Cracks, Joints & Problem Areas
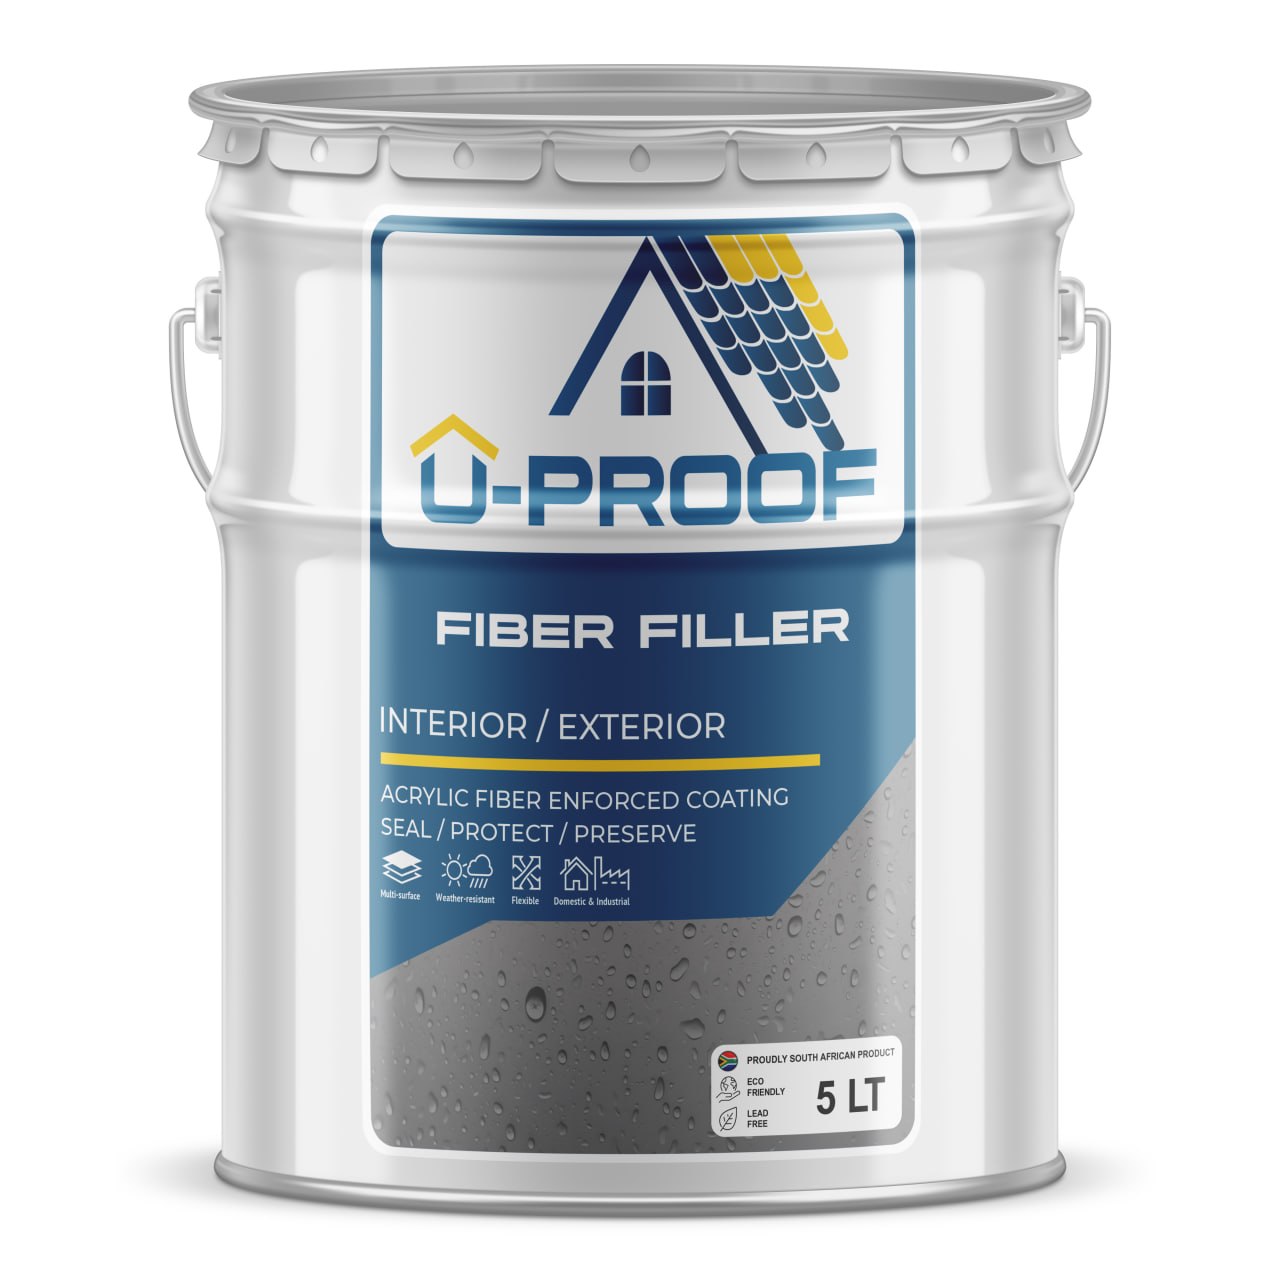
Apply U-Proof Fibre Filler to cracks, joints, flashings, gutters, roof edges and other vulnerable areas requiring extra strength. This helps bridge gaps and reinforce areas where leaks commonly start.
Pro Tip
Most leaks start at weak points, not in the middle of a flat surface. Reinforce these areas before applying the main waterproofing layer.
Step 5
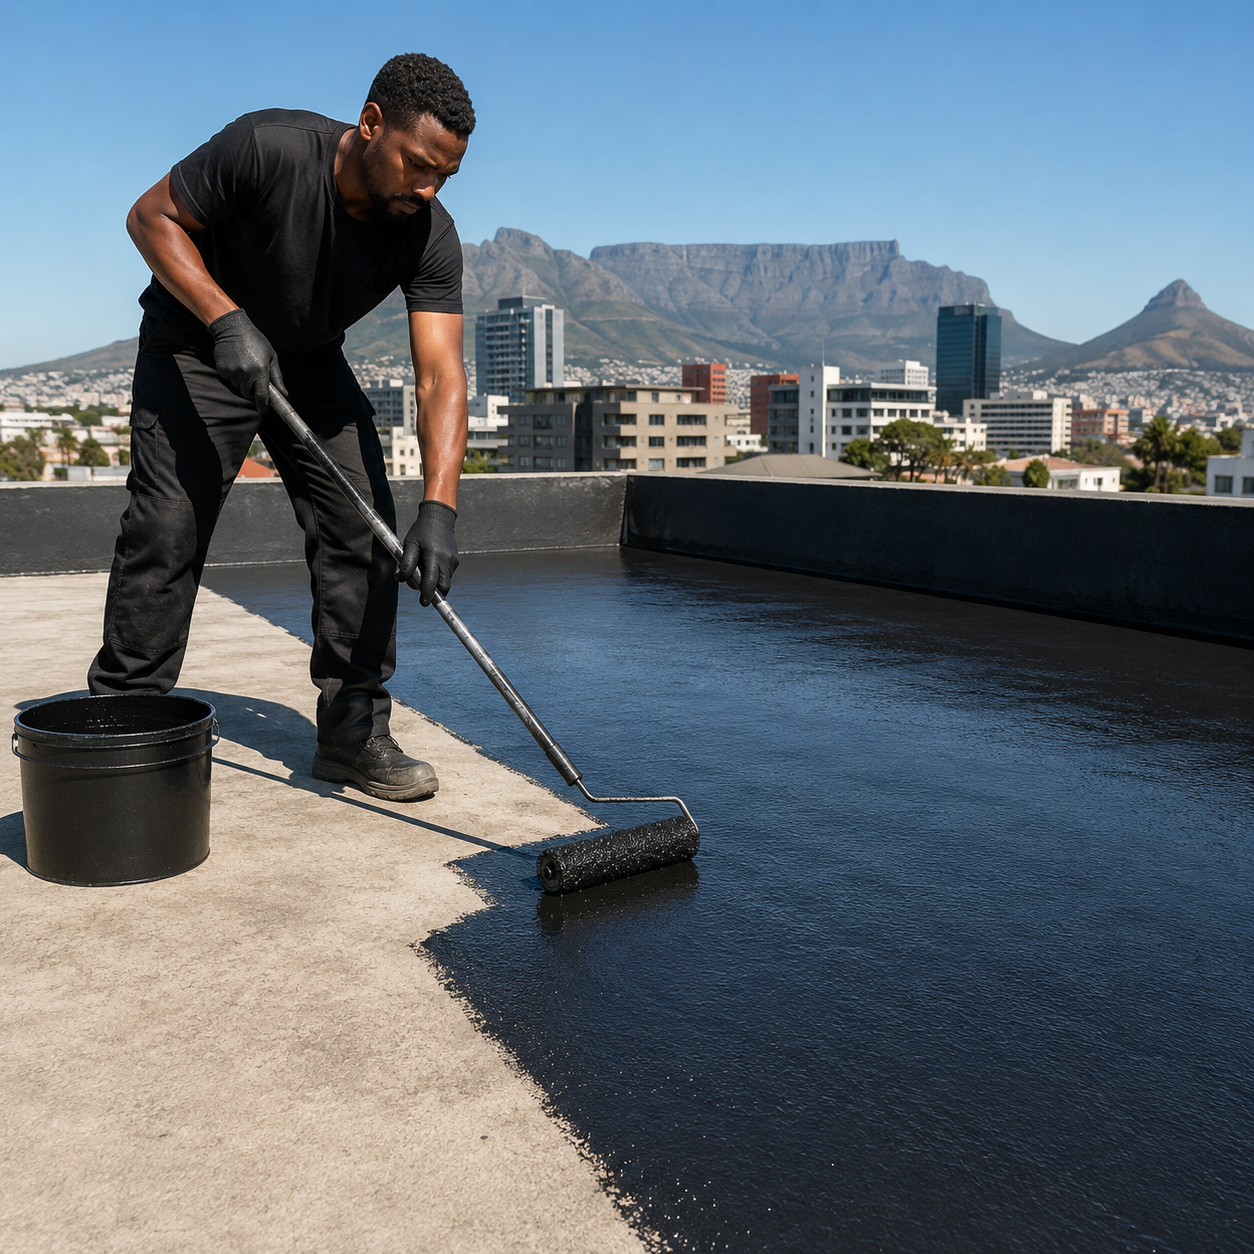
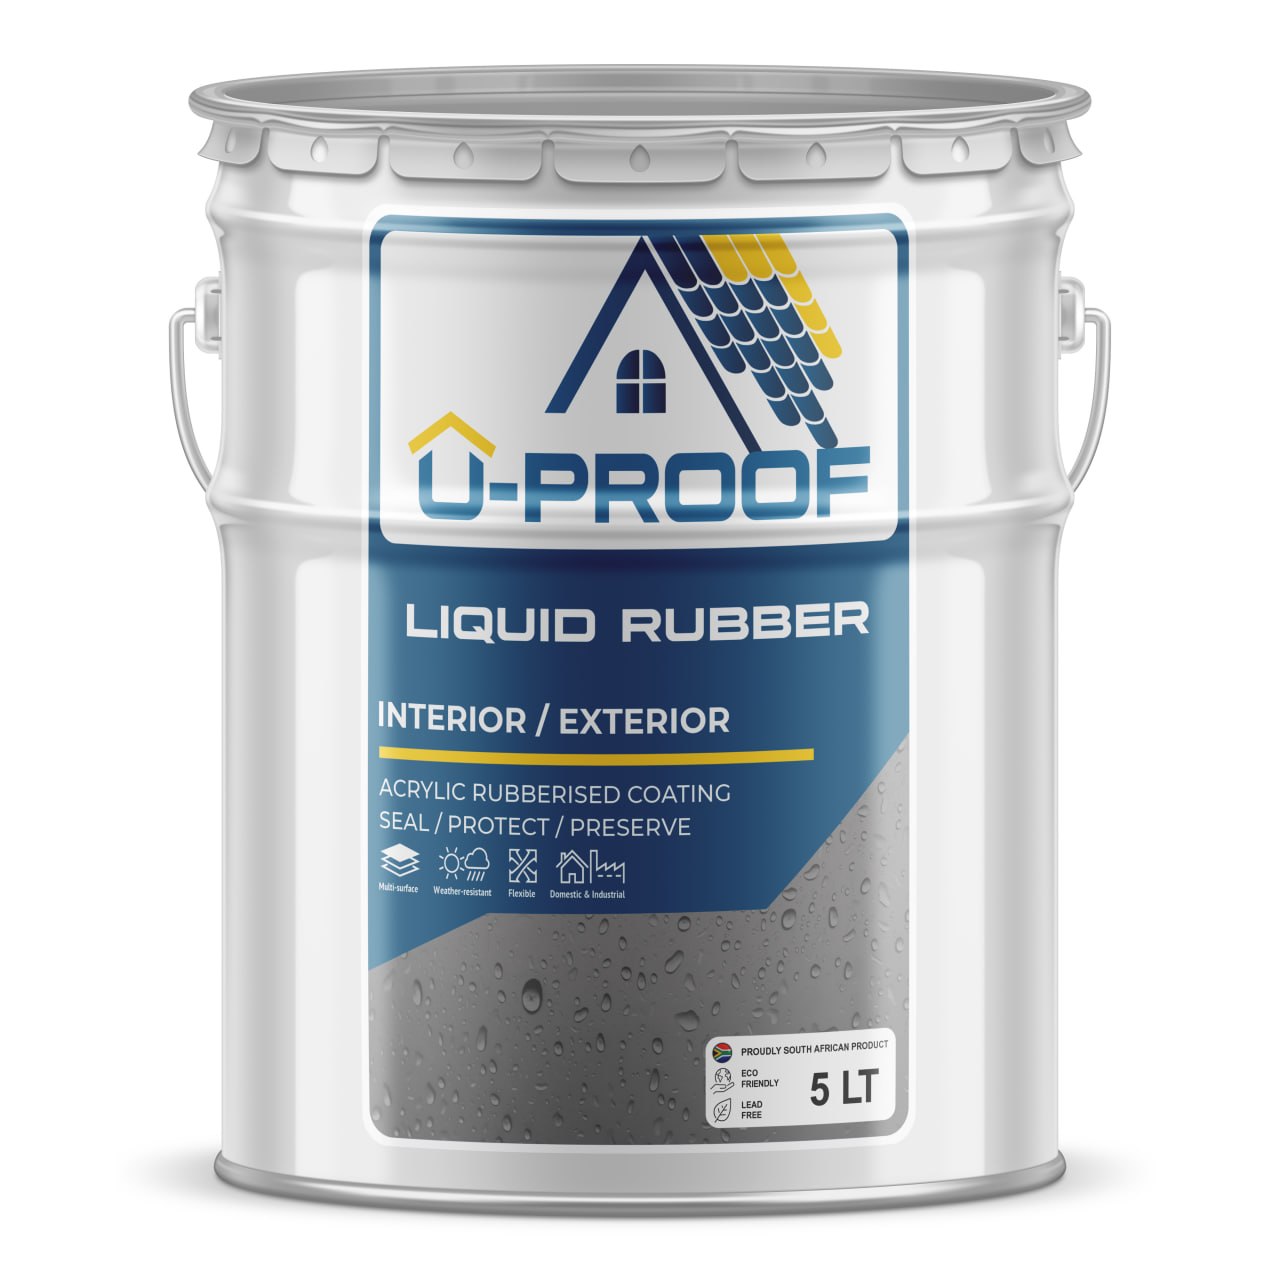
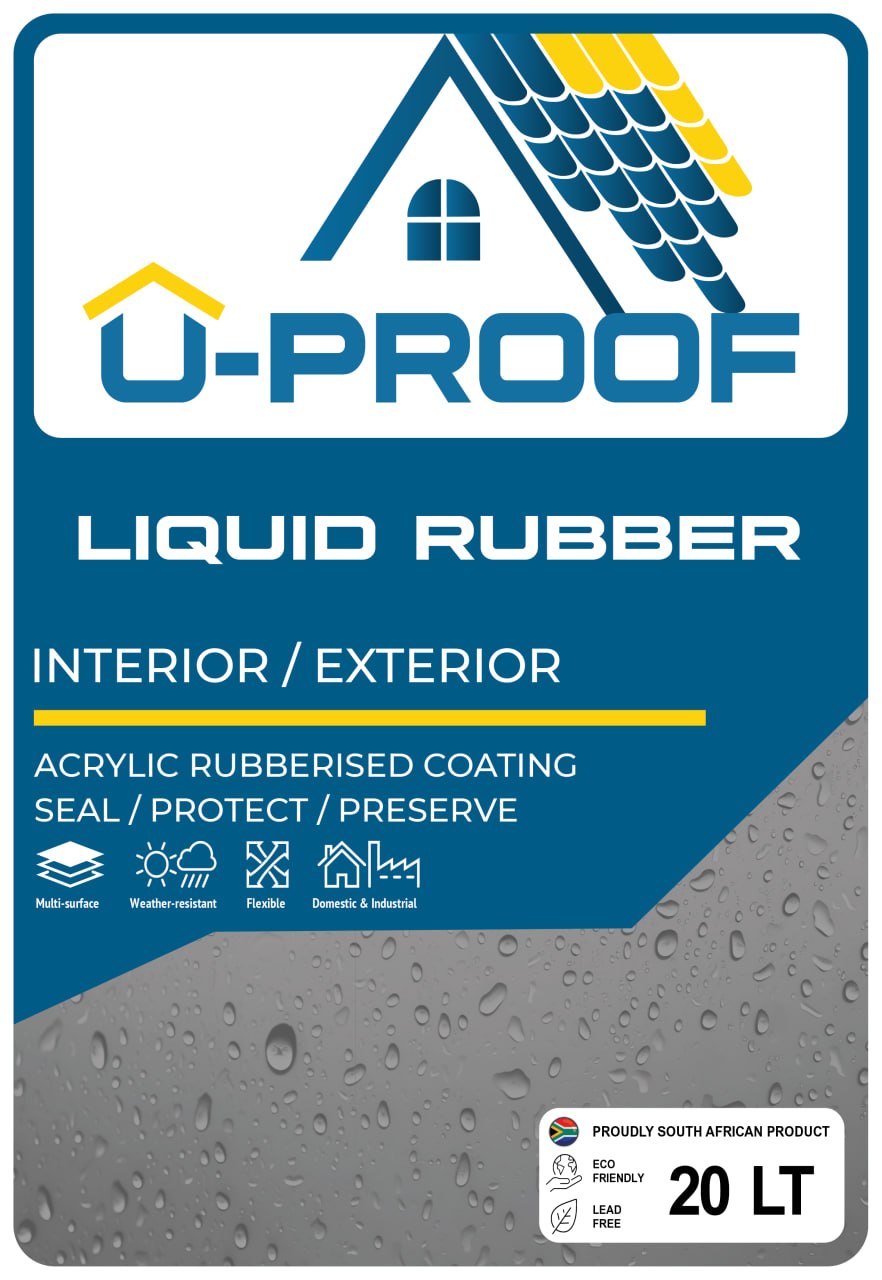
Apply U-Proof Liquid Rubber
Apply U-Proof Liquid Rubber to create a seamless, flexible waterproofing membrane. Once cured, it forms a protective barrier that helps prevent water penetration and withstands weather exposure.
Pro Tip
Apply evenly and allow proper drying or curing time between coats for best performance.
Step 6
Finish & Maintain
Allow the waterproofing system to cure properly and inspect the finished surface. Where required, complete the area with a protective finish and maintain the surface regularly to extend performance over time.
Pro Tip
Inspect waterproofed areas before rainy seasons and repair small issues early before they become larger problems.
Which U-Proof Product Does What?
Liquid Rubber
Creates the main seamless waterproofing membrane.
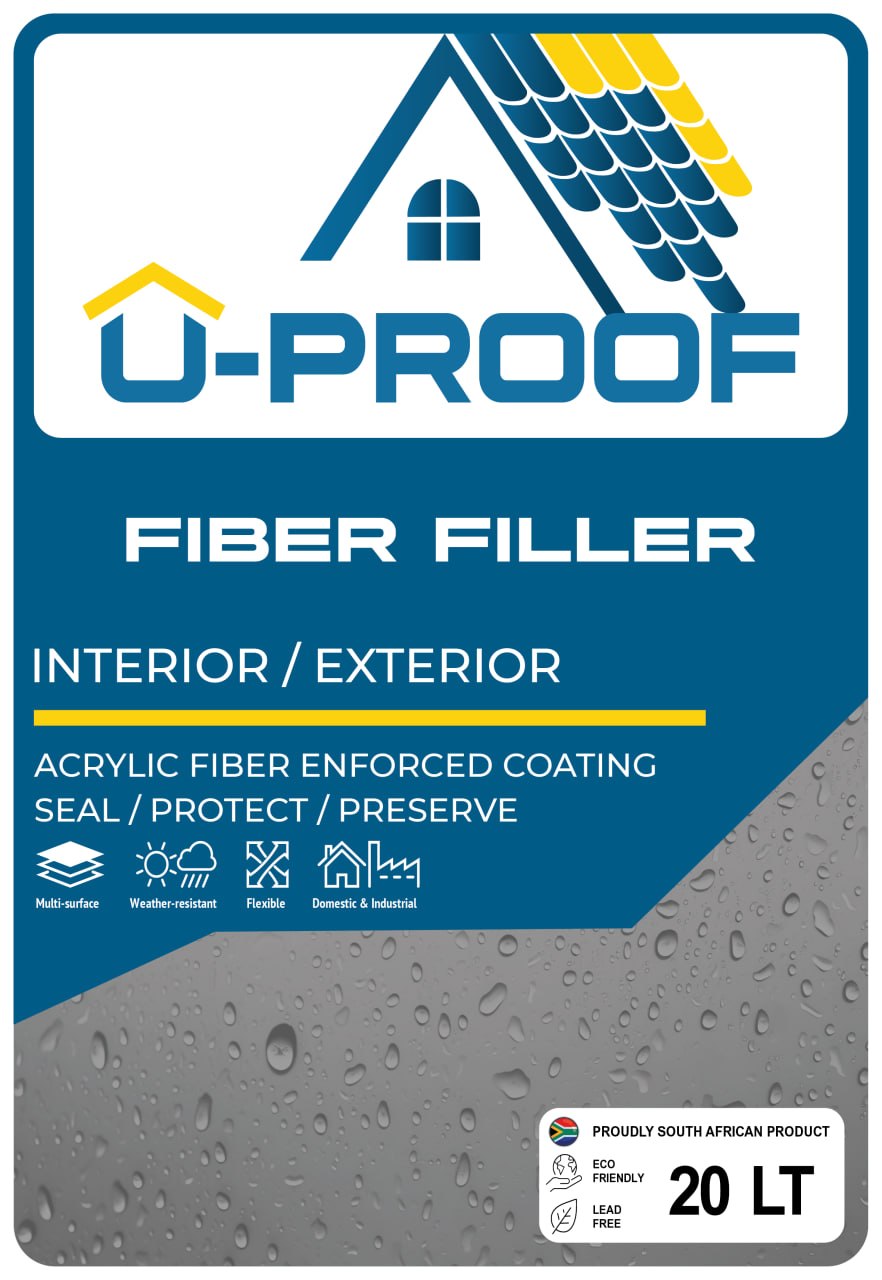
Fibre Filler
Reinforces cracks, joints, flashings and vulnerable leak points.
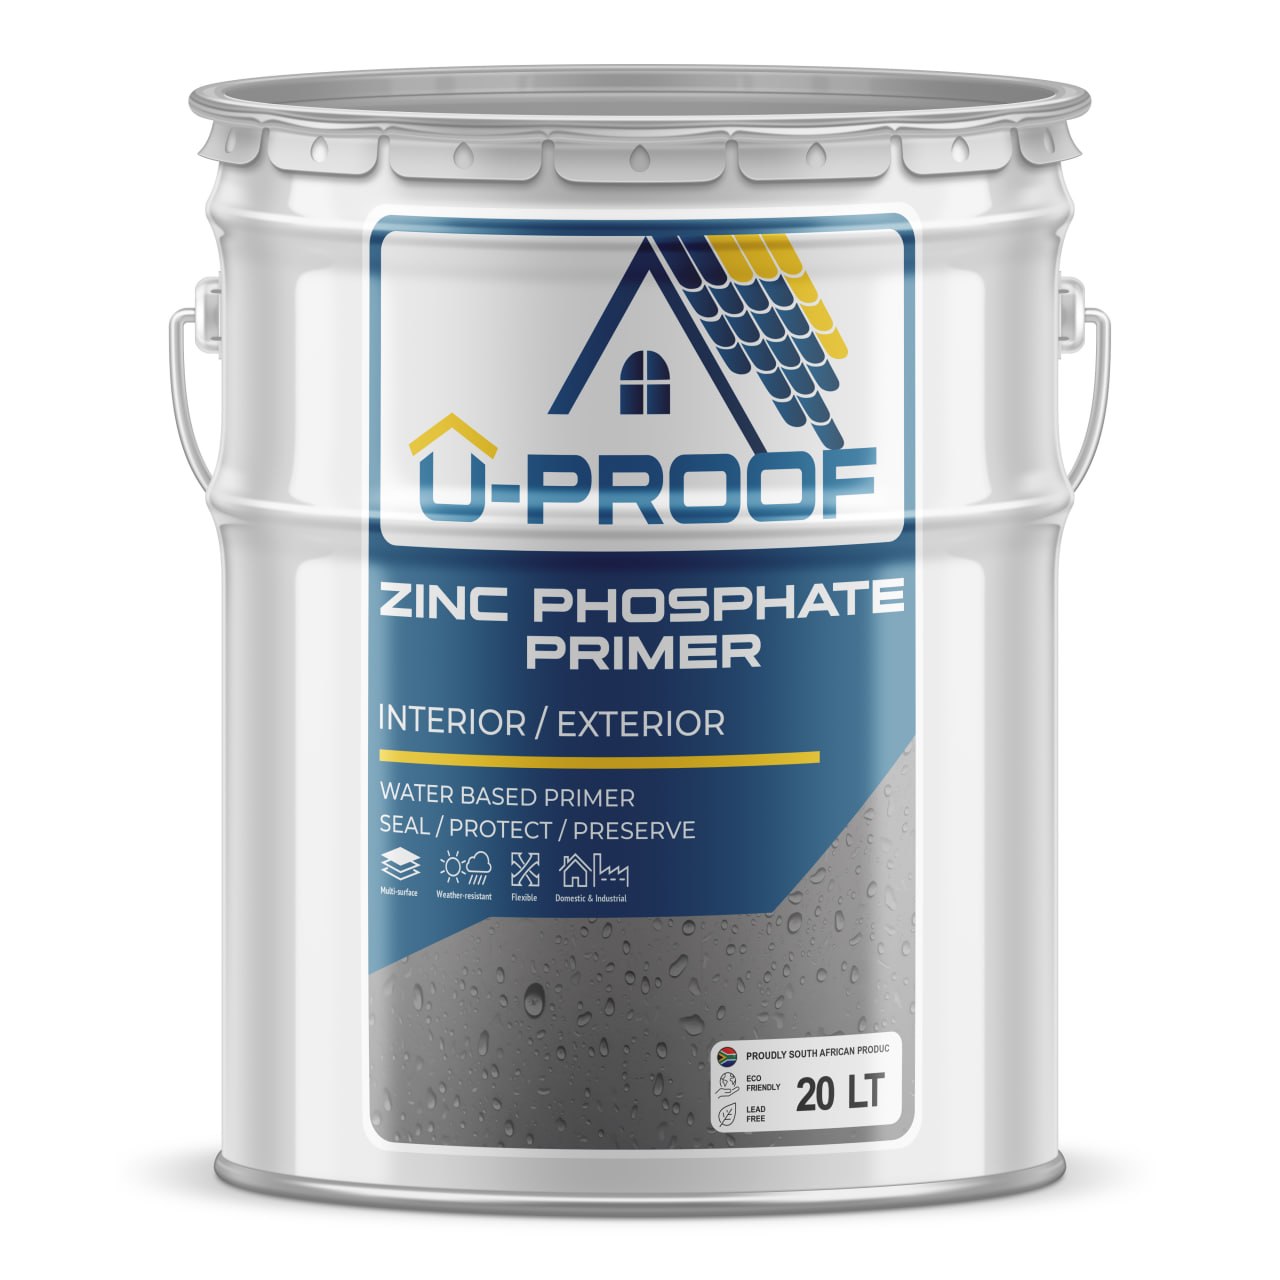
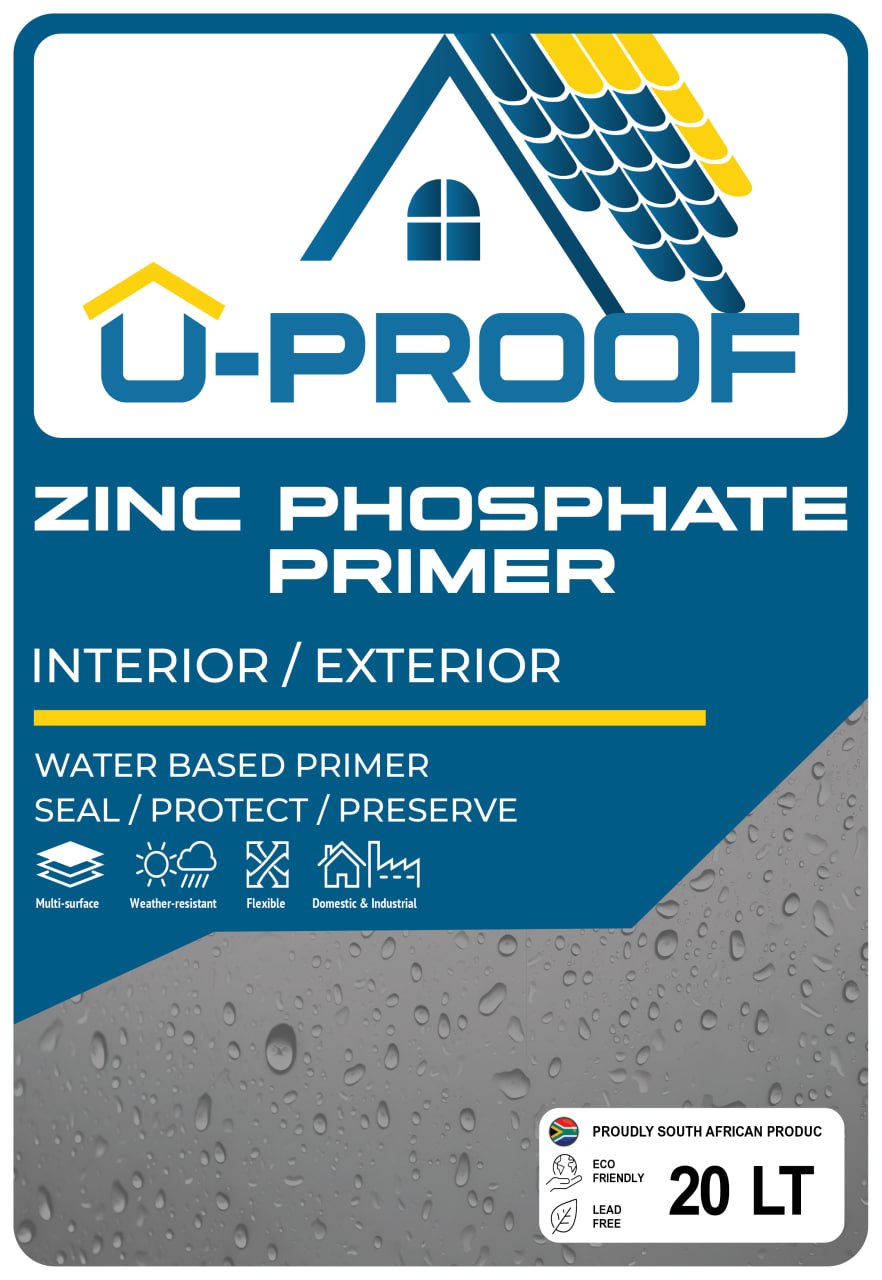
Primers
Prepare surfaces and improve adhesion before waterproofing.
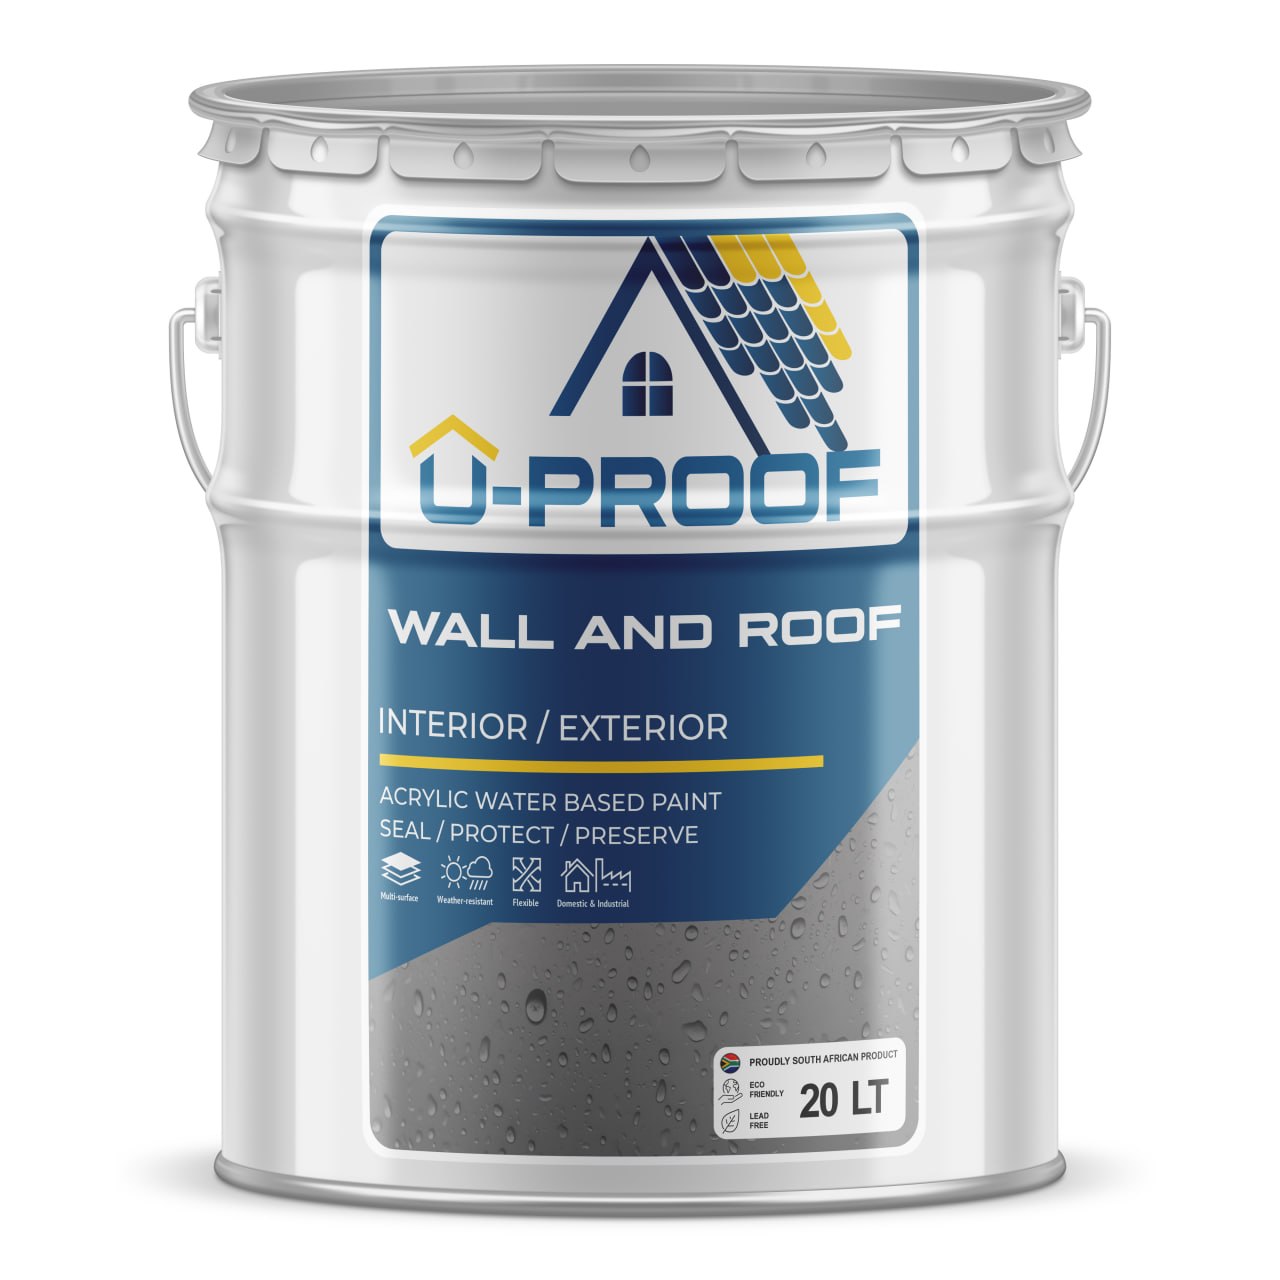
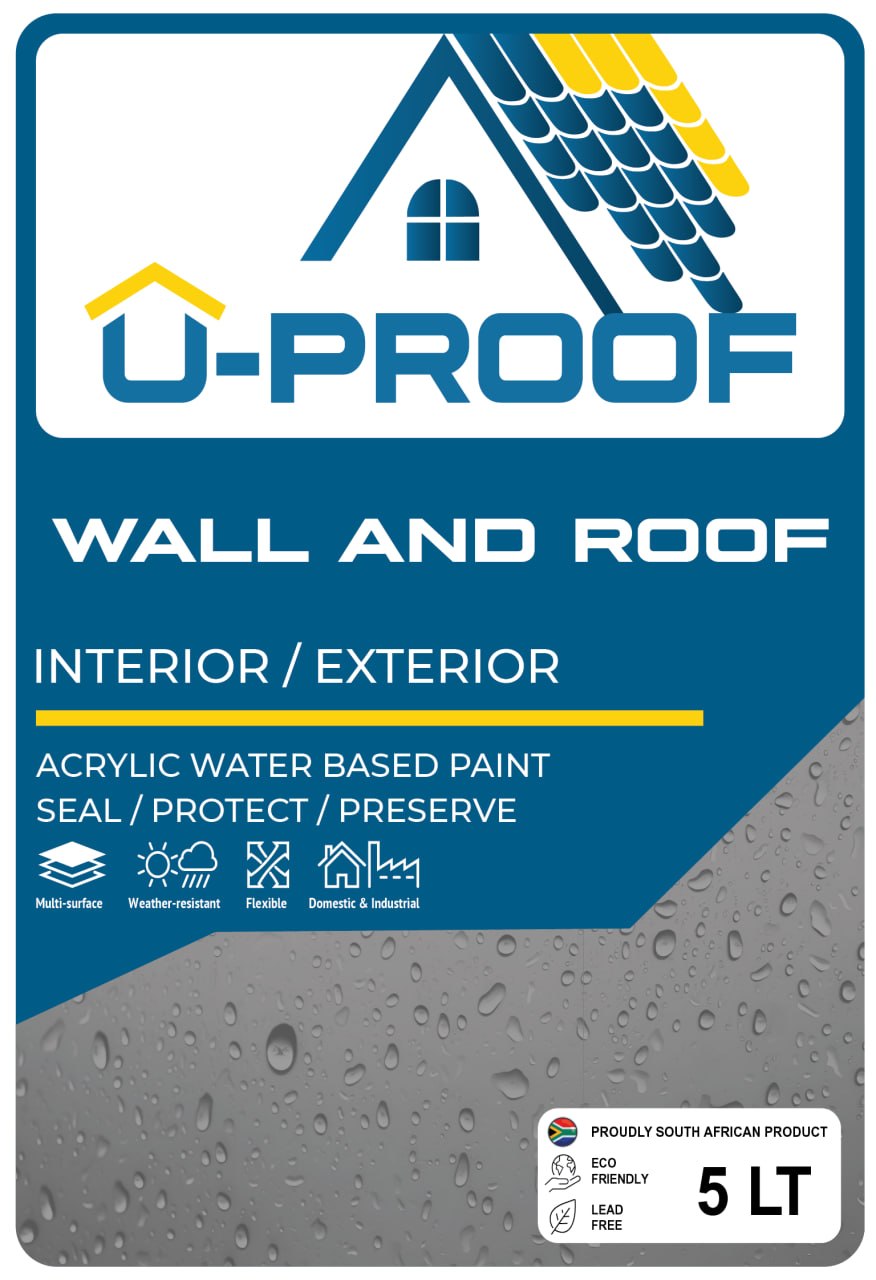
Paint
Provides a durable protective finish for suitable walls, roofs and exposed surfaces.
Suitable for a Wide Range of Waterproofing Projects
The U-Proof system can be used across multiple residential, commercial and maintenance applications when the correct preparation and product selection are followed.
Need Help with Your Waterproofing Project?
Not sure which U-Proof products to use? Contact our team for practical guidance before you start your roof, gutter, concrete or surface waterproofing project.