

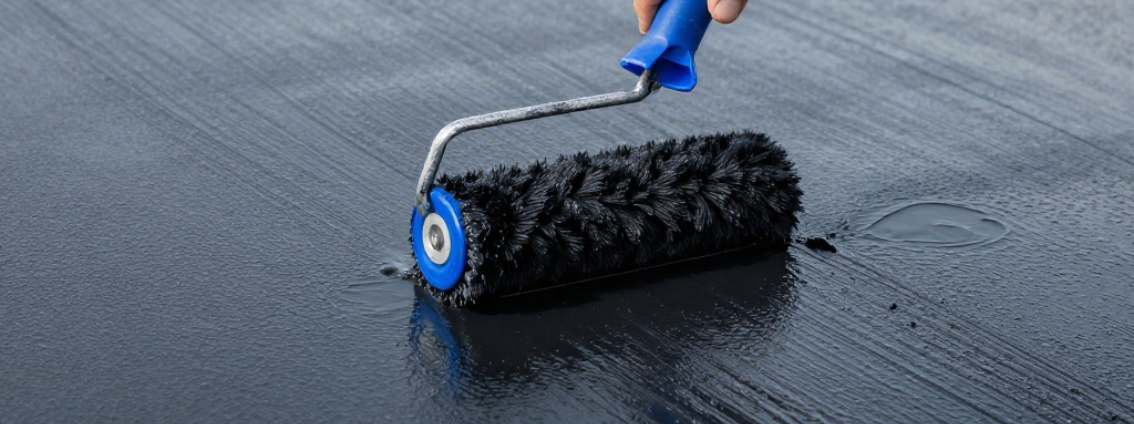
Liquid rubber waterproofing creates a flexible, seamless membrane that helps protect roofs, gutters, concrete, metal and exposed surfaces from water ingress. This guide explains how to prepare the surface, reinforce problem areas and apply U-Proof Liquid Rubber correctly.
How to Apply Liquid Rubber Waterproofing
Liquid rubber waterproofing is a practical solution for protecting roofs, gutters, concrete, metal and exposed surfaces from water ingress. When applied correctly, it forms a seamless, flexible waterproofing membrane that helps seal vulnerable areas and protect against rain, UV exposure and changing weather conditions.
Whether you are repairing a small leak, maintaining an ageing surface or waterproofing a larger area, the final result depends heavily on preparation. A clean, stable surface, the correct primer where required, and reinforcement of cracks and joints can make a major difference to long-term performance.
This guide explains how to apply U-Proof Liquid Rubber as part of a proper waterproofing system.
Where Can Liquid Rubber Be Used?
U-Proof Liquid Rubber can be used across a range of waterproofing applications when the surface is correctly prepared and suitable for coating.
Common application areas include:
- Roof waterproofing
- Metal roof protection
- Concrete roofs and slabs
- Gutters and flashings
- Parapet walls and roof edges
- Balconies and terraces
- Cracks, joints and detailed repair areas
Before starting, always inspect the surface carefully and choose the right supporting products for the job.
What You May Need Before You Start
Depending on the surface and project, you may need:
- U-Proof Liquid Rubber
- U-Proof Fibre Filler
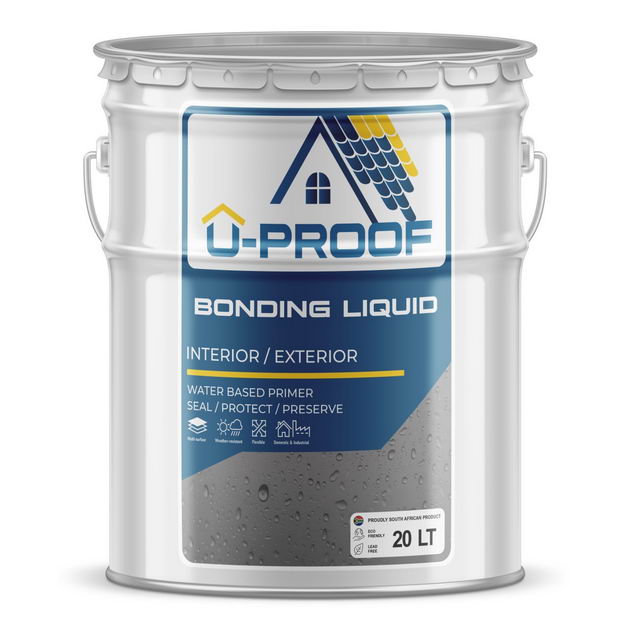
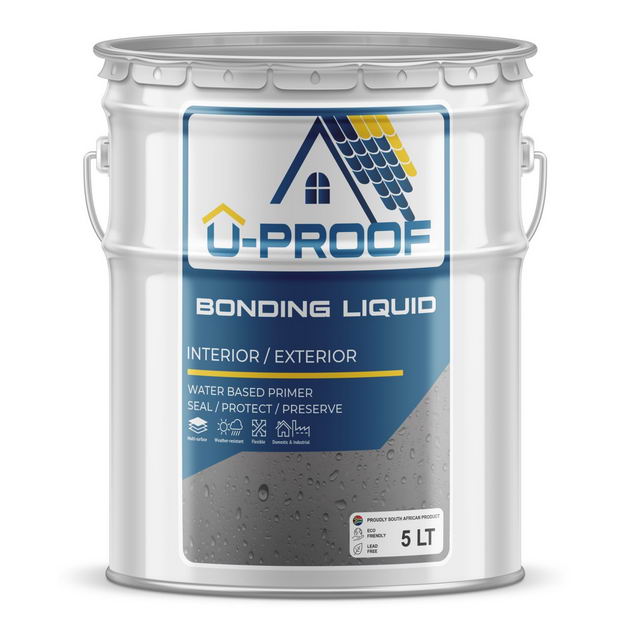
- U-Proof Primer, where required
- Brush, roller or suitable application tool
- Scraper or wire brush
- Cleaning tools
- Protective gloves
- Cloths or cleaning materials
- Masking tape for neat edges, where needed
The correct product combination depends on the surface type, condition and application area.
Step 1: Inspect the Surface
Before applying any waterproofing product, inspect the surface properly. Look for cracks, leaks, rust, loose paint, failed coatings, damaged joints, water pooling and signs of water ingress.
Pay close attention to common leak points such as:
- Roof edges
- Gutters
- Flashings
- Screws and fixings
- Sheet overlaps
- Concrete cracks
- Wall junctions
- Parapet corners
- Drainage points
Identifying problem areas before application helps ensure the right products are used from the start.
Step 2: Clean and Prepare the Area
Surface preparation is one of the most important parts of waterproofing. Liquid rubber needs a clean, stable surface to bond properly.
Remove:
- Dirt
- Dust
- Grease
- Loose paint
- Rust
- Flaking coatings
- Unstable material
- Old failed sealants where necessary
The surface should be sound, dry and free from anything that may affect adhesion. For metal surfaces, remove loose rust and unstable coatings. For concrete, remove dust, loose material and any weak surface layers.
Skipping this step can lead to poor bonding and reduced waterproofing performance.
Step 3: Prime Where Required
Some surfaces require a primer before applying liquid rubber. Primer helps prepare the substrate and improve adhesion between the surface and the waterproofing membrane.
Primer may be required on:
- Porous concrete
- Metal surfaces
- Previously coated areas
- Weathered or difficult substrates
- Surfaces with inconsistent absorption
The correct primer depends on the surface type, condition and application area. If you are unsure, get product advice before applying the waterproofing system.
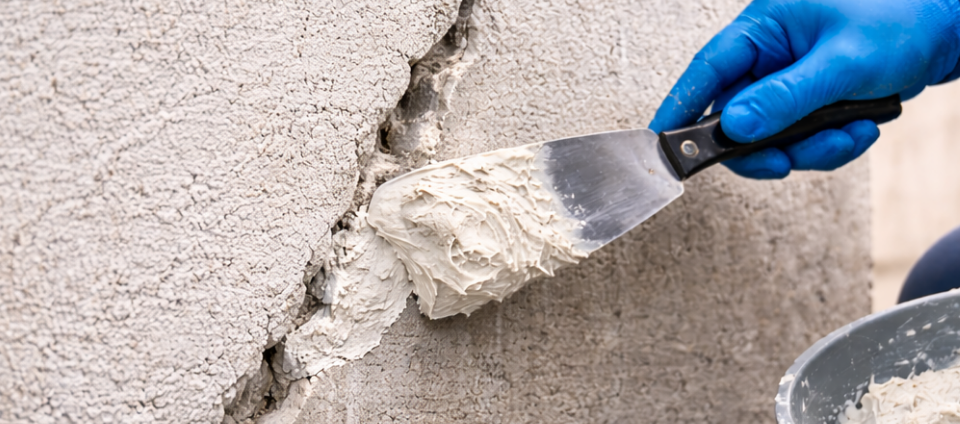
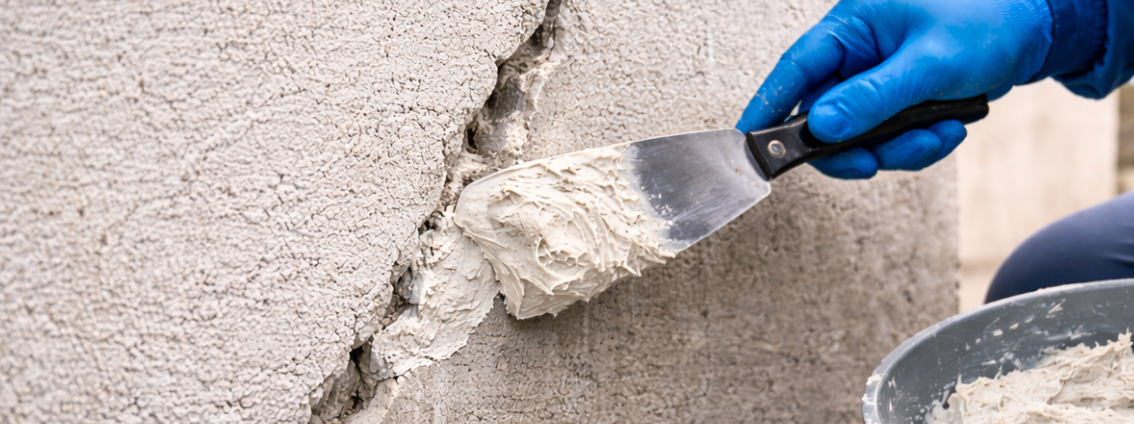
Step 4: Reinforce Cracks, Joints and Problem Areas
Cracks, joints, corners and roof details are often the first places where leaks begin. These areas should be reinforced before applying the main liquid rubber coating.
Use U-Proof Fibre Filler on areas such as:
- Concrete cracks
- Roof joints
- Flashings
- Gutters
- Roof edges
- Sheet overlaps
- Screw and fixing points
- Parapet wall junctions
- Balcony corners
- Drainage points
Reinforcing these areas helps bridge gaps and adds strength where the waterproofing system needs it most.
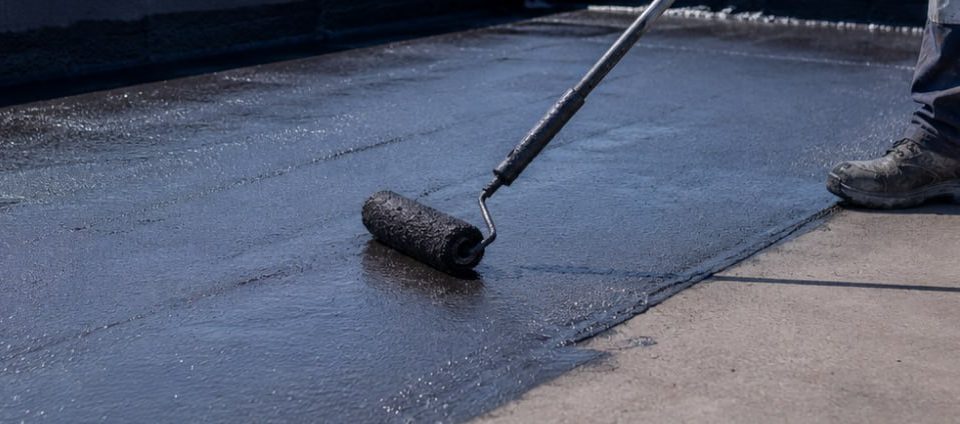
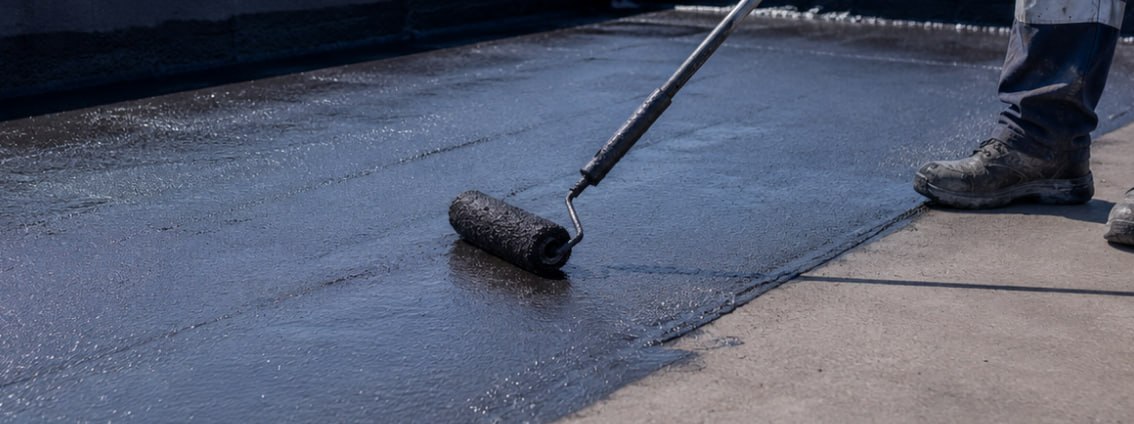
Step 5: Apply U-Proof Liquid Rubber
Once the surface is clean, prepared, primed where required and reinforced, apply U-Proof Liquid Rubber to create the main waterproofing membrane.
Liquid rubber can typically be applied by brush, roller or suitable application method depending on the project area.
Apply evenly across the prepared surface, making sure vulnerable details are fully covered. Work methodically and avoid leaving thin, missed or uneven areas. Where more than one coat is required, follow the correct drying and recoat guidance for the product.
The goal is to create a continuous, seamless waterproofing membrane over the prepared area.
Step 6: Allow the System to Cure
After application, allow the waterproofing system to cure properly. Curing time can depend on weather, temperature, humidity, surface conditions and application thickness.
Avoid exposing the area to unnecessary traffic, water or finishing layers before the system has cured sufficiently.
Once cured, the liquid rubber forms a flexible protective barrier that helps prevent water penetration and withstand weather exposure.
Step 7: Inspect and Maintain the Finished Surface
After curing, inspect the waterproofed area. Check that the surface is fully covered and that cracks, joints, edges and detailed areas are properly sealed.
Regular maintenance can help extend performance over time. Inspect waterproofed surfaces after heavy weather, seasonal changes or visible wear.
Look out for:
- New cracks
- Damaged coatings
- Blocked gutters
- Standing water
- Loose material
- Rust returning on metal areas
- Movement around joints and edges
Small maintenance repairs are usually easier and more cost-effective than waiting for larger leaks to develop.
Common Liquid Rubber Application Mistakes to Avoid
Applying Over Dirt or Dust
A dirty surface can prevent proper adhesion. Always clean and prepare the area before application.
Ignoring Cracks and Joints
Problem areas should be reinforced before applying the main coating. Liquid rubber works best as part of a complete waterproofing system.
Skipping Primer Where Needed
Some surfaces require primer for better adhesion. Using the wrong system can affect performance.
Applying Too Thinly
Thin or uneven areas may not provide the protection required. Apply the product evenly and follow the recommended system guidance.
Not Allowing Proper Cure Time
The waterproofing membrane needs time to cure. Avoid rushing the process before the surface is ready.
Best Applications for U-Proof Liquid Rubber
U-Proof Liquid Rubber is suitable for a wide range of waterproofing projects, including roof waterproofing, gutter repairs, concrete waterproofing, metal roof protection and balcony waterproofing.
It is especially useful where a flexible, seamless membrane is needed to protect against water ingress and weather exposure.
Need Help Choosing the Right Waterproofing Product?
Not sure which products to use for your surface? U-Proof offers waterproofing solutions for roofs, gutters, concrete, metal and exposed surfaces.
Tell us about your surface, leak issue or project area and we’ll help point you toward the right U-Proof products.
FAQs
Can I apply liquid rubber myself?
Yes. U-Proof Liquid Rubber can be used by confident DIY users, contractors and maintenance teams, provided the correct surface preparation and application steps are followed.
Do I need to clean the surface before applying liquid rubber?
Yes. The surface should be clean, dry, stable and free from dust, dirt, grease, loose paint, rust and unstable material before application.
Do I need a primer before applying liquid rubber?
Some surfaces require primer to improve adhesion. The correct primer depends on the surface type, condition and application area.
Should cracks be repaired before applying liquid rubber?
Yes. Cracks, joints, corners and leak-prone areas should be reinforced with U-Proof Fibre Filler before applying the main liquid rubber membrane.
Can liquid rubber be used on metal roofs?
Yes. Liquid rubber can be used on suitable metal roof surfaces when the roof is correctly cleaned, prepared and primed where required.
Can liquid rubber be used on concrete?
Yes. U-Proof Liquid Rubber can be used on suitable concrete roofs, slabs and exposed surfaces when the concrete is clean, stable and correctly prepared.