

Good waterproofing starts with proper surface preparation. This guide explains how to inspect, clean, repair, prime and prepare common surfaces before applying U-Proof waterproofing products.
Surface Preparation Guide for Waterproofing
Surface preparation is one of the most important steps in any waterproofing project. Even the best waterproofing product needs a clean, stable and suitable surface to bond properly and perform as intended.
Whether you are waterproofing a roof, gutter, concrete slab, metal surface, balcony or parapet wall, the preparation process can make a major difference to the final result. Poor preparation can lead to weak adhesion, coating failure, leaks returning and unnecessary repairs later on.
This guide explains how to prepare common surfaces before applying U-Proof waterproofing products.
Why Surface Preparation Matters
Waterproofing products are designed to form a protective barrier over a surface. If that surface is dirty, dusty, loose, rusty, oily or unstable, the waterproofing layer may not bond properly.
Correct preparation helps:
- Improve adhesion
- Remove weak or unstable material
- Identify leak-prone areas
- Reinforce cracks and joints
- Improve waterproofing performance
- Reduce the risk of future coating failure
Before applying U-Proof Liquid Rubber, Fibre Filler, primers or protective coatings, always take the time to inspect and prepare the surface correctly.
Step 1: Identify the Surface Type
Start by confirming what type of surface you are working on. Different surfaces have different preparation requirements.
Common waterproofing surfaces include:
- Concrete roofs
- Concrete slabs
- Metal roofs
- Corrugated roof sheets
- Gutters and flashings
- Parapet walls
- Balconies and terraces
- Wall junctions and upstands
- Roof edges and corners
- Previously coated surfaces
Concrete may require cleaning, crack reinforcement and priming. Metal surfaces may require rust removal and the correct primer. Gutters may need cleaning, joint reinforcement and careful detailing around outlets and corners.
The surface type will help determine which U-Proof products should be used.
Step 2: Inspect for Problem Areas
Before cleaning or applying any product, inspect the full area carefully. Look for signs of damage, movement, weakness or water ingress.
Check for:
- Cracks
- Leaks
- Rust
- Loose paint
- Flaking coatings
- Failed waterproofing
- Damaged sealant
- Damp patches
- Water stains
- Standing water
- Open joints
- Loose screws or fixings
- Blocked gutters or outlets
Pay extra attention to areas where leaks commonly start, such as corners, overlaps, joins, roof penetrations, flashings, gutters, wall junctions and drainage points.
A proper inspection helps you understand whether the area needs cleaning only, or whether it also requires priming, reinforcement or repair before waterproofing.
Step 3: Remove Loose and Unstable Material
Waterproofing should not be applied over loose, peeling or unstable surfaces. Any material that is not firmly bonded should be removed before application.
Remove:
- Peeling paint
- Flaking coatings
- Loose waterproofing
- Rust scale
- Broken sealant
- Crumbling concrete
- Dusty surface layers
- Unstable repair material
Use suitable tools such as scrapers, wire brushes, stiff-bristle brushes or other cleaning tools depending on the surface.
The aim is to create a sound surface that can hold the waterproofing system properly.
Step 4: Clean the Surface Thoroughly
Once loose material has been removed, the surface must be cleaned properly. Dirt, dust, grease and contaminants can interfere with adhesion.
Remove:
- Dust
- Dirt
- Mud
- Grease
- Oil
- Algae
- Mould
- Loose rust
- Surface residue
- Construction debris
For roofs and gutters, make sure leaves, sand, loose material and blockages are removed. For concrete, ensure the surface is free from dust and weak particles. For metal roofs, clean around screws, overlaps, flashings and rust-prone areas.
The surface should be clean, dry and stable before applying waterproofing products.
Step 5: Check Moisture and Weather Conditions
Waterproofing products should be applied under suitable conditions. A surface that is wet, damp or exposed to incoming rain may affect bonding and curing.
Before applying product, check that:
- The surface is dry
- Rain is not expected during application
- The area is not holding standing water
- Drainage points are clear
- The surface is not too dusty or contaminated
- Weather conditions are suitable for curing
Outdoor waterproofing projects are affected by rain, humidity, heat and wind, so planning the application properly is important.
Step 6: Repair and Reinforce Cracks, Joints and Details
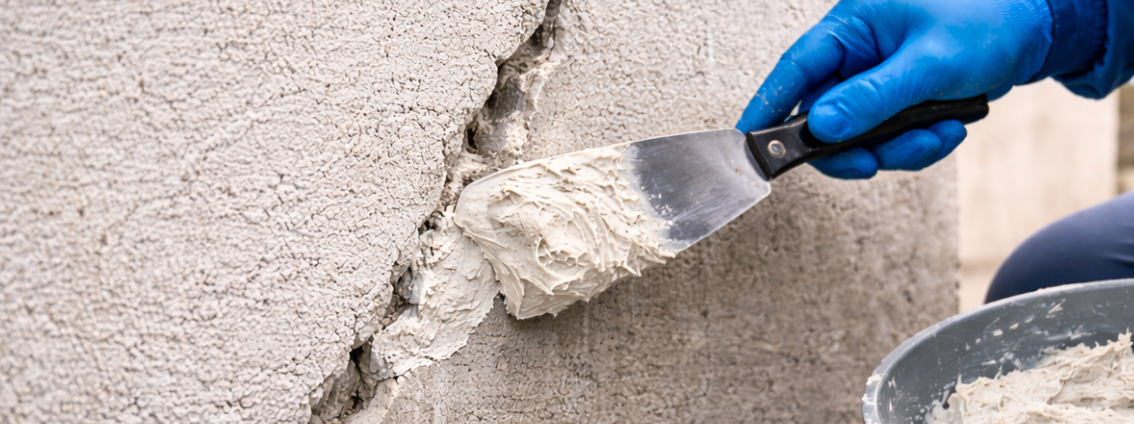
Cracks, joints and detailed areas are often the first places where leaks begin. These areas should be reinforced before applying the main waterproofing layer.
Use U-Proof Fibre Filler on vulnerable areas such as:
- Concrete cracks
- Roof joints
- Metal roof overlaps
- Screws and fixings
- Gutters and seams
- Flashings
- Roof edges
- Parapet wall junctions
- Balcony corners
- Drainage outlets
- Wall upstands
Reinforcing these areas helps bridge small gaps, strengthen weak points and improve the overall waterproofing system.
Step 7: Prime Where Required
Some surfaces require primer before waterproofing. Primer helps prepare the substrate and improve adhesion between the surface and the waterproofing system.
Primer may be required on:
- Porous concrete
- Metal surfaces
- Weathered surfaces
- Previously coated areas
- Masonry surfaces
- Difficult or inconsistent substrates
The correct primer depends on the surface type, condition and application area. If you are unsure which primer to use, get product advice before starting the project.
Step 8: Prepare the Application Area
Before applying waterproofing, make sure the area is ready for a clean and controlled application.
You may need to:
- Mask off neat edges
- Protect surrounding finishes
- Move loose items from the area
- Clear drainage paths
- Keep tools ready
- Stir or prepare products as required
- Plan where application will start and finish
Good preparation helps avoid messy edges, missed areas and inconsistent application.
Surface Preparation by Application Type
Roof Waterproofing
For roof waterproofing, clean the roof thoroughly and inspect roof edges, flashings, penetrations, gutters, cracks and joints. Reinforce vulnerable areas before applying the main waterproofing membrane.
Concrete Waterproofing
For concrete roofs, slabs and exposed concrete surfaces, remove dust, loose material and weak surface layers. Repair cracks and prime where required before waterproofing.
Metal Roof Protection
For metal roofs, remove loose rust, flaking coatings, dust and dirt. Pay close attention to screws, overlaps, seams, ridge caps, flashings and corrosion-prone areas. Use the correct primer where needed.
Gutter Sealing and Repairs
For gutters, remove leaves, dirt, mud, loose sealant and rust. Clean joints, outlets, corners and downpipe connections before reinforcing and sealing.
Balcony and Terrace Waterproofing
For balconies and terraces, inspect for cracks, drainage issues, water pooling, failed coatings and wall junctions. Reinforce corners, drains and upstands before applying waterproofing.
Common Surface Preparation Mistakes to Avoid
Applying Waterproofing Over Dirt
Dust, dirt and debris can prevent proper bonding. Always clean the surface before application.
Ignoring Loose Coatings
If old coatings are peeling or unstable, they should be removed before waterproofing.
Skipping Crack Repairs
Cracks and joints should be reinforced before applying the main waterproofing layer.
Forgetting About Primer
Some surfaces need primer to improve adhesion. Skipping primer where it is required may affect performance.
Applying to a Wet Surface
Most waterproofing applications require a dry, stable surface. Moisture can interfere with adhesion and curing.
Not Checking Drainage
Standing water and blocked drainage points can place unnecessary stress on the waterproofing system.
Products Used for Surface Preparation
U-Proof Fibre Filler
Used to reinforce cracks, joints, gutters, flashings, edges, corners and other leak-prone areas before applying the main waterproofing layer.
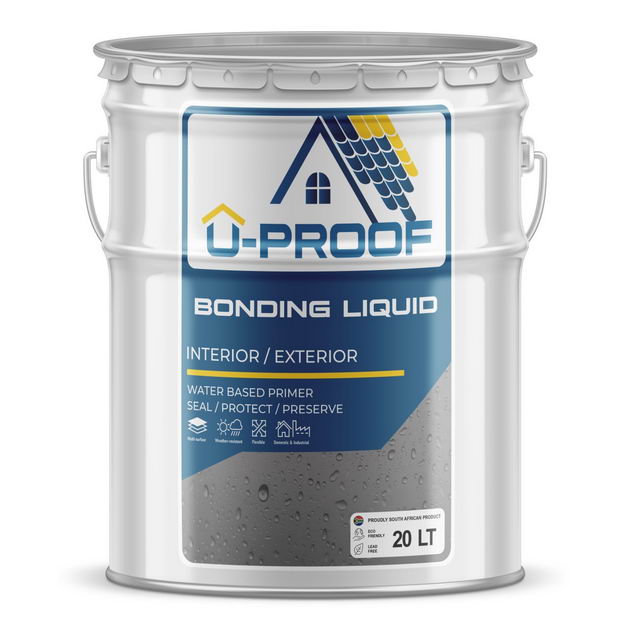
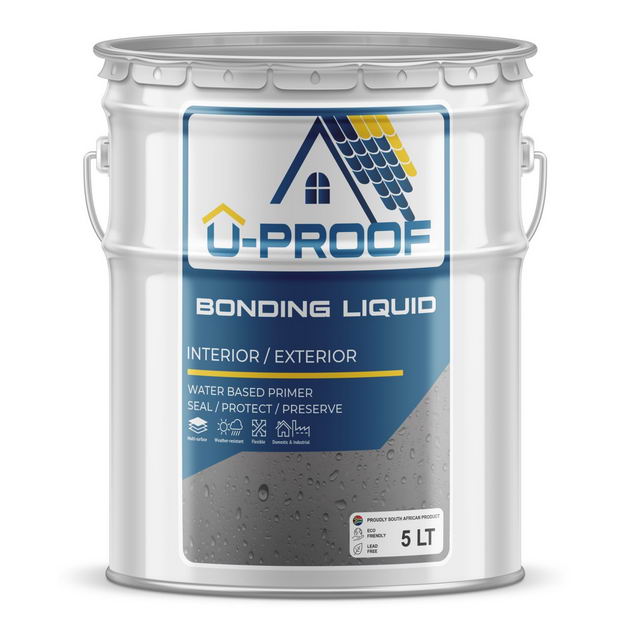
U-Proof Primers
Used where required to prepare surfaces and improve adhesion before waterproofing.
U-Proof Liquid Rubber
Applied after preparation and reinforcement to form the main seamless waterproofing membrane.
U-Proof Wall & Roof Paint
Used as a protective finish for suitable wall and roof areas where required.
Final Preparation Checklist
Before applying U-Proof waterproofing products, check that:
- The surface has been inspected
- Loose material has been removed
- The area is clean and dry
- Cracks and joints have been reinforced
- Rust-prone areas have been prepared
- Gutters and drainage points are clear
- Primer has been applied where required
- Weather conditions are suitable
- The correct products are ready for use
Taking time at this stage helps create a stronger, more reliable waterproofing result.
Need Help Preparing Your Surface?
Not sure whether your surface needs primer, Fibre Filler or additional preparation? Tell us about your roof, gutter, concrete, metal or balcony waterproofing project and we’ll help point you toward the right U-Proof products.
FAQs
Why is surface preparation important before waterproofing?
Surface preparation helps improve adhesion, remove weak material and identify cracks, joints or problem areas that need reinforcement before waterproofing.
Can I apply waterproofing over old paint?
Only if the old paint is stable, clean and properly bonded. Loose, peeling or flaking paint should be removed before applying waterproofing products.
Does concrete need to be primed before waterproofing?
Some concrete surfaces require primer, especially if they are porous, dusty or inconsistent. The correct primer depends on the surface condition.
How do I prepare a metal roof for waterproofing?
Clean the metal surface, remove loose rust and flaking coatings, inspect screws and overlaps, prime where required and reinforce problem areas before coating.
Should cracks be repaired before waterproofing?
Yes. Cracks, joints, corners and other weak points should be reinforced with U-Proof Fibre Filler before applying the main waterproofing membrane.
Can I waterproof a damp surface?
Waterproofing should generally be applied to a clean, dry and stable surface. Damp or wet surfaces may affect adhesion and curing.